How to Create a Wedding Website for Your Guests
A wedding website gathers everything guests need in one place: the story, the schedule, the venues, and the photos.

The short answer: one link, everything guests need
A wedding website gathers everything guests need in one place: the story, the schedule, the venues, and the photos. Guests should find the date, the time, and the venue in under a minute, without opening five different chats.
The simplest way to do it is to let your invitation be the website. A MyIndiAura invitation already carries the schedule, the venues, the photos, and the music, on one shareable link. Guests open the invitation they received, and everything is there. This guide covers the sections to include, the steps to build it, and the habits that keep it correct through the wedding week.
Build it in seven steps
- Gather the details first. Collect every date, time, venue, and address, plus the couple's photos and the dress code for each event, before you open the builder.
- Pick your format. Choose a Cinematic Invite for a film led page, an Invite App for a page guests can explore, or a Suite for a simple card with the schedule.
- Add the couple and the story. Write two or three short paragraphs about how you met, in plain words, with one clear photo of the couple.
- Add the schedule. List every ceremony in order, with the date, the time, the venue, and one note for guests, such as the dress code.
- Add venues and travel. Give the full address and a landmark for each venue, plus travel and stay notes for outstation guests.
- Add RSVP and contact. Include a way for guests to confirm, and one contact number for questions on the day.
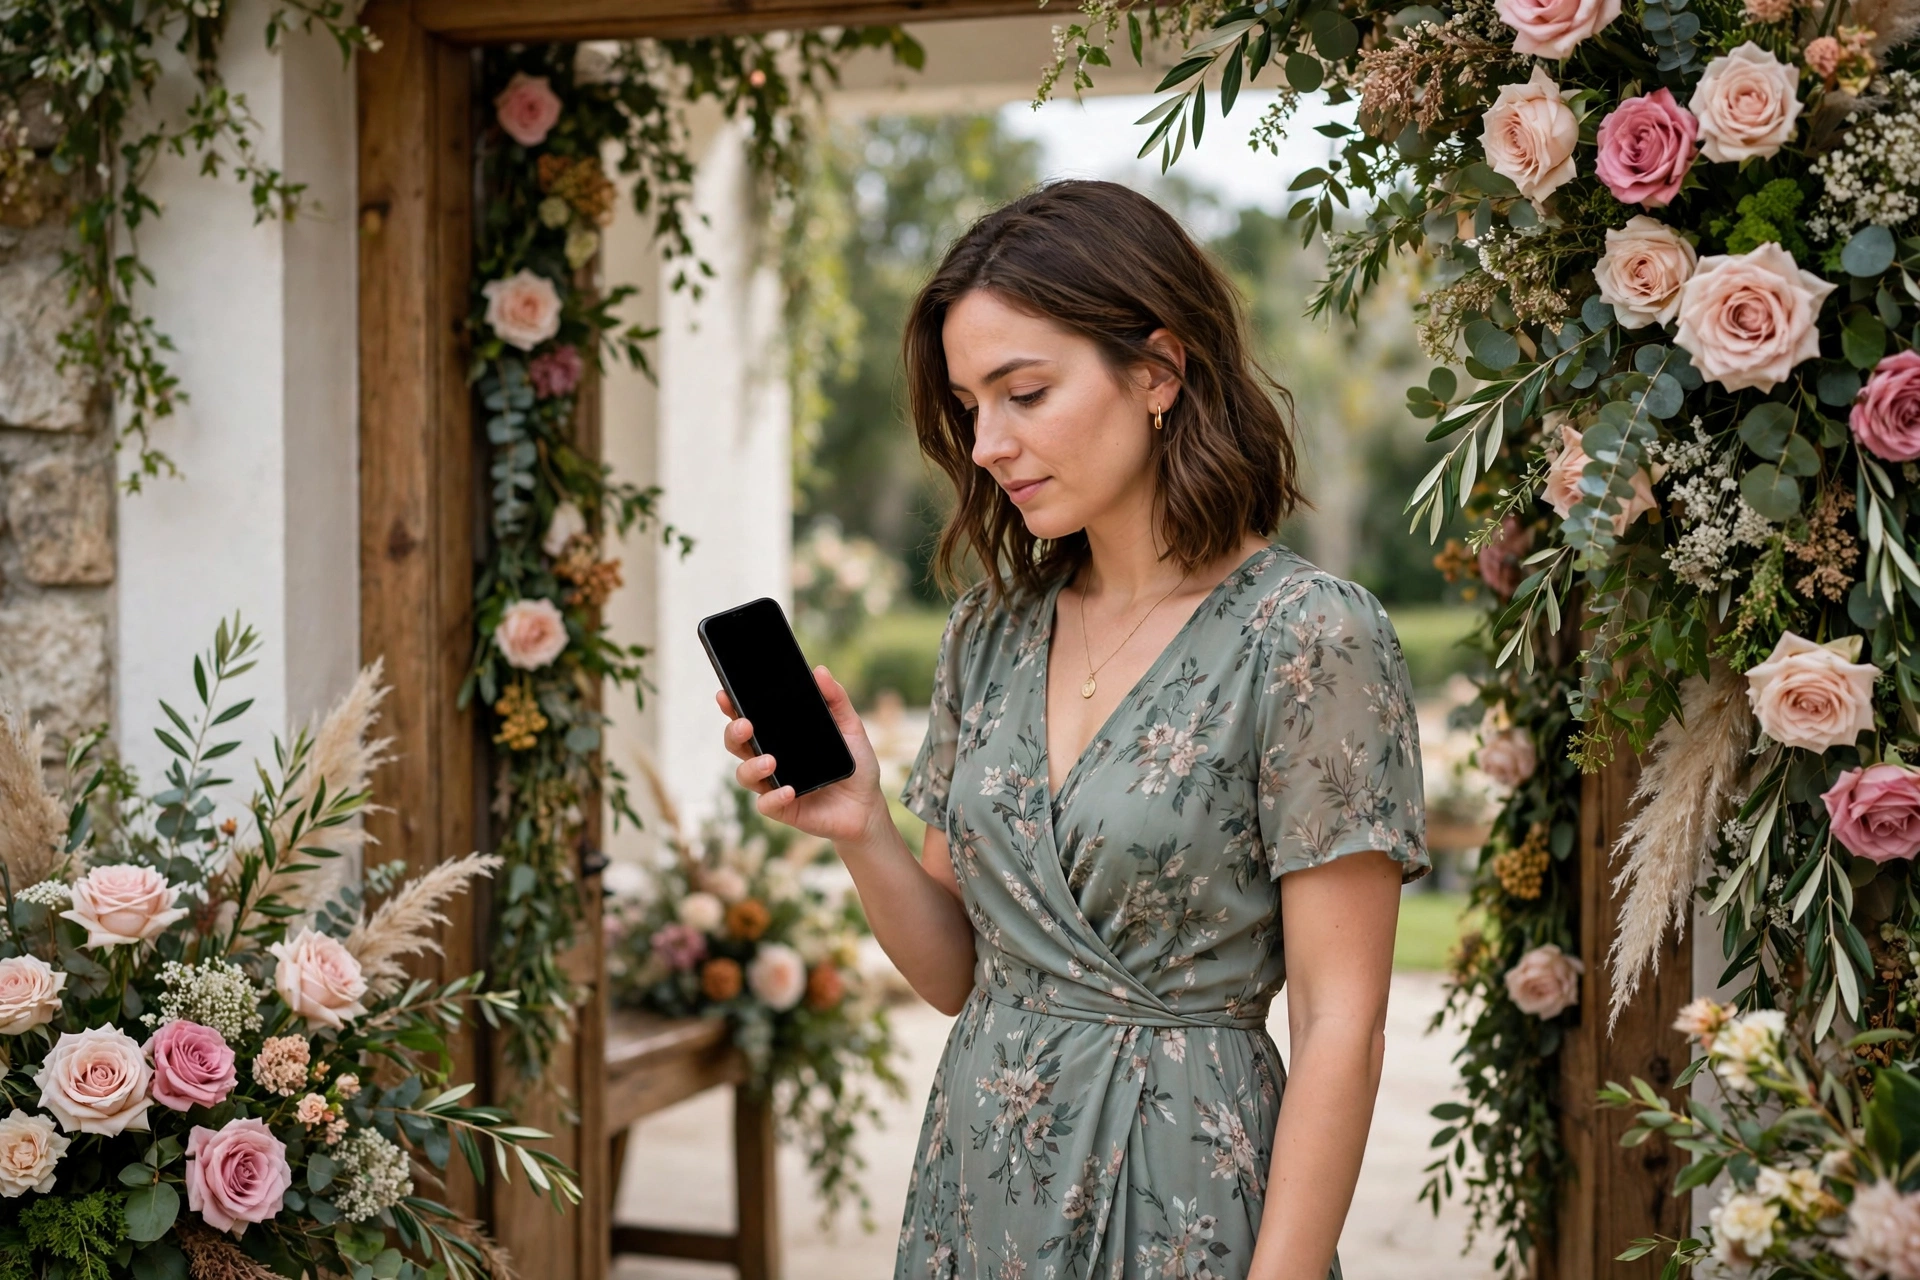
- Test it on a phone. Open the link on your own phone, and try to answer three questions fast: when is the wedding, where is it, and what happens each day. If any answer takes more than a minute to find, rearrange the page.
The sections every wedding website needs
Welcome and the couple
The first screen guests see. The couple's names, the wedding date, one clear photo, and a line of welcome. Keep it to one screen, with no scrolling needed to find the date. This is the screen guests screenshot and share, so make the names and the date large and easy to read.
Our story
Two or three short paragraphs about how you met, in plain words, with two or three photos from your time together. It suits guests who know one side of the family and want to know the couple. Keep it short. One honest paragraph beats five formal ones.
Schedule of ceremonies
The heart of the page. Every ceremony in order, with the date, the time, the venue, and one note for guests. Mehendi, sangeet, haldi, baraat, ceremony, and reception, each on its own line. Guests check this section more than any other, so keep it at the top, just below the welcome.
Venues and how to reach them
One block per venue, with the full address, a landmark, and a map link. Add parking notes where they matter, and the travel time from the hotel most guests will stay in. Outstation guests plan their whole trip from this section, so check every address against the map yourself.
Travel and stay
Hotel suggestions near each venue, with a phone number, plus notes on cabs and the nearest airport or station. It suits outstation guests, who need to book rooms early.
RSVP and contact
A simple form, or a button that opens WhatsApp, where guests confirm they are coming, and say how many are travelling with them. Add one contact number for questions on the day, and name the person who answers it. Check the replies weekly, and update the guest count as they come in.

Words to use on each page
Copyable lines, ready to adapt:
- Welcome to our wedding. Everything you need is on this page.
- [Names] are getting married on [Date], at [Venue], [City].
- The celebrations begin with mehendi on [Date], at [Time].
- Please join us for the sangeet on [Date], at [Time], at [Venue].
- The wedding ceremony begins at [Time]. Please be seated by [Time].
- For travel and stay, see the guide below, or call [Name] on [Number].
- We cannot wait to celebrate with you. Please confirm by [Date].
Keep the words short and plain, and write the details out in full. Elders may not open links, so the WhatsApp message that carries the link should also carry the date, the time, and the venue.
Keeping the page correct through the wedding week
A page that stays current is worth more than a beautiful page frozen in the first draft. When a time changes, update the invitation first, then send one short message to the family group with the new time. Guests trust the page they were sent, and a page that contradicts the group chat confuses everyone.
Check the page once a week before the wedding, and once a day during the wedding week. Check the dates, the times, the venue addresses, and the contact number. After the wedding, the same link can point guests to shared photos, so the page lives on as a memory.
Common mistakes to avoid
- Hiding the schedule. Guests should find the date, the time, and the venue in under a minute. If the schedule sits below three screens of photos, move it up.
- Two different plans. A website that says one time and a group chat that says another will split your guests. Update the page first, then the chat.
- No venue address. A venue name alone is not enough in a new city. Give the full address, a landmark, and a map link for every venue.
- Forgetting elders. Elders may not open links, so call them, explain the plan, and print the schedule for those who prefer paper.
- No RSVP deadline. Without a date to confirm by, guests reply late or not at all. Put the deadline on the page, and send one reminder a week before it.
- Never updating after a change. An out of date wedding website confuses more than no website. Check the page once a day during the wedding week.
Website checklist
- Schedule, venues, and travel notes all on one link
- RSVP form or button, with a clear deadline for replies
- One contact number for questions on the day
- Page tested on a phone, with answers found in under a minute
- Printed schedule for elders who prefer paper
Frequently asked questions
Do we need a separate wedding website, or is the invitation enough?
For most couples, the invitation is enough. A MyIndiAura invitation already carries the schedule, the venues, the photos, and the music on one link. Build a separate website only if you want extra pages, such as a long travel guide.
What should go on a wedding website first?
The schedule, the venues, and the timings, in that order. Guests visit the page to plan, so put what they need first, and put the story and the photos after it.
When should we share the wedding website?
Share it with the invitation, four to six weeks before the wedding, so outstation guests can plan travel. Send one update through the same link if any time changes.
How do guests confirm they are coming?
Include a simple RSVP form, or a button that opens WhatsApp, with a clear deadline for replies. Check the replies weekly, and send one reminder a week before the deadline.
What if a time or venue changes after we share the link?
Update the page first, then send one short message to the family group with the new time. Guests trust the page they were sent, so the page must carry the latest plan.
Related reading
- Indian Wedding Planning Checklist: 12 Months to the Wedding Day
- Wedding Invitation Wording: Examples for Every Function
Build one page your guests can trust, and let MyIndiAura carry the invitation that holds it all together.
See it on a real invite
Open any of these to see the full invite, then add your own names and preview it free.


Found this useful? Share it with someone planning a celebration.
Share